handmade beadwork & bead embroidery jewellery & tutorials

Categorie: Tutorial

Necklace update!

Hai Everyone!

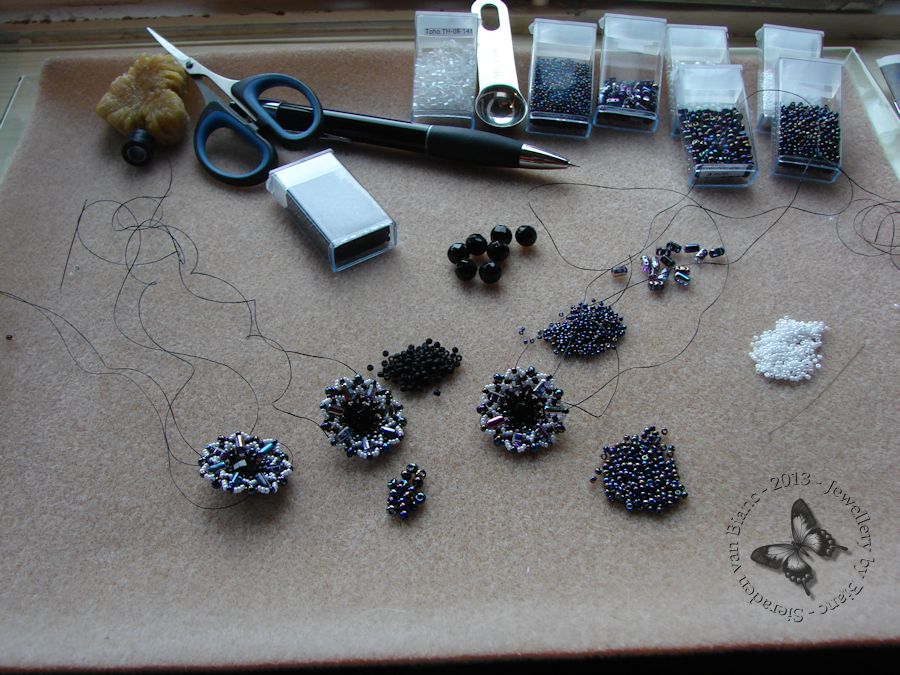
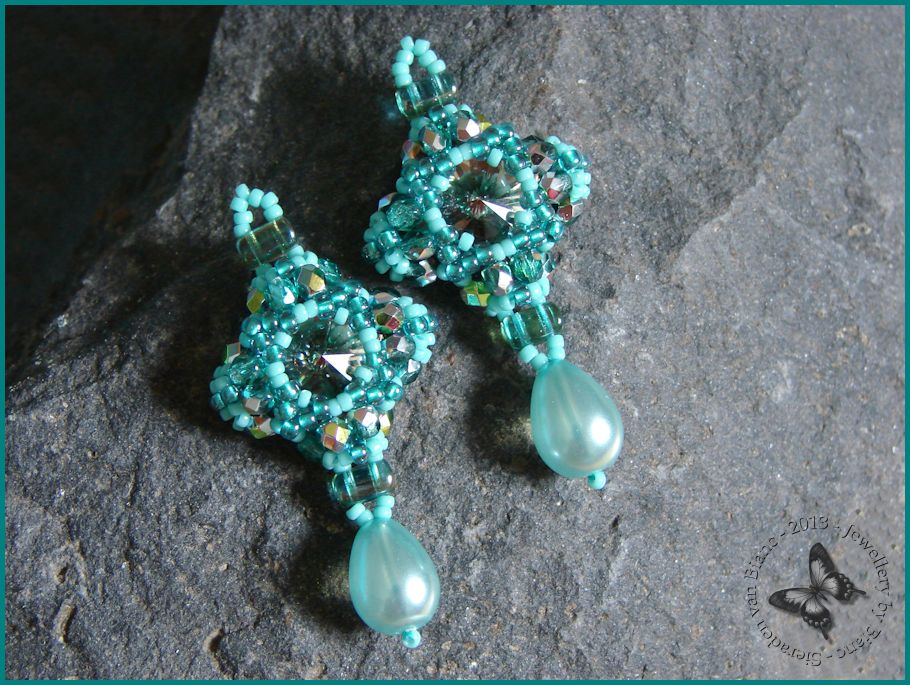
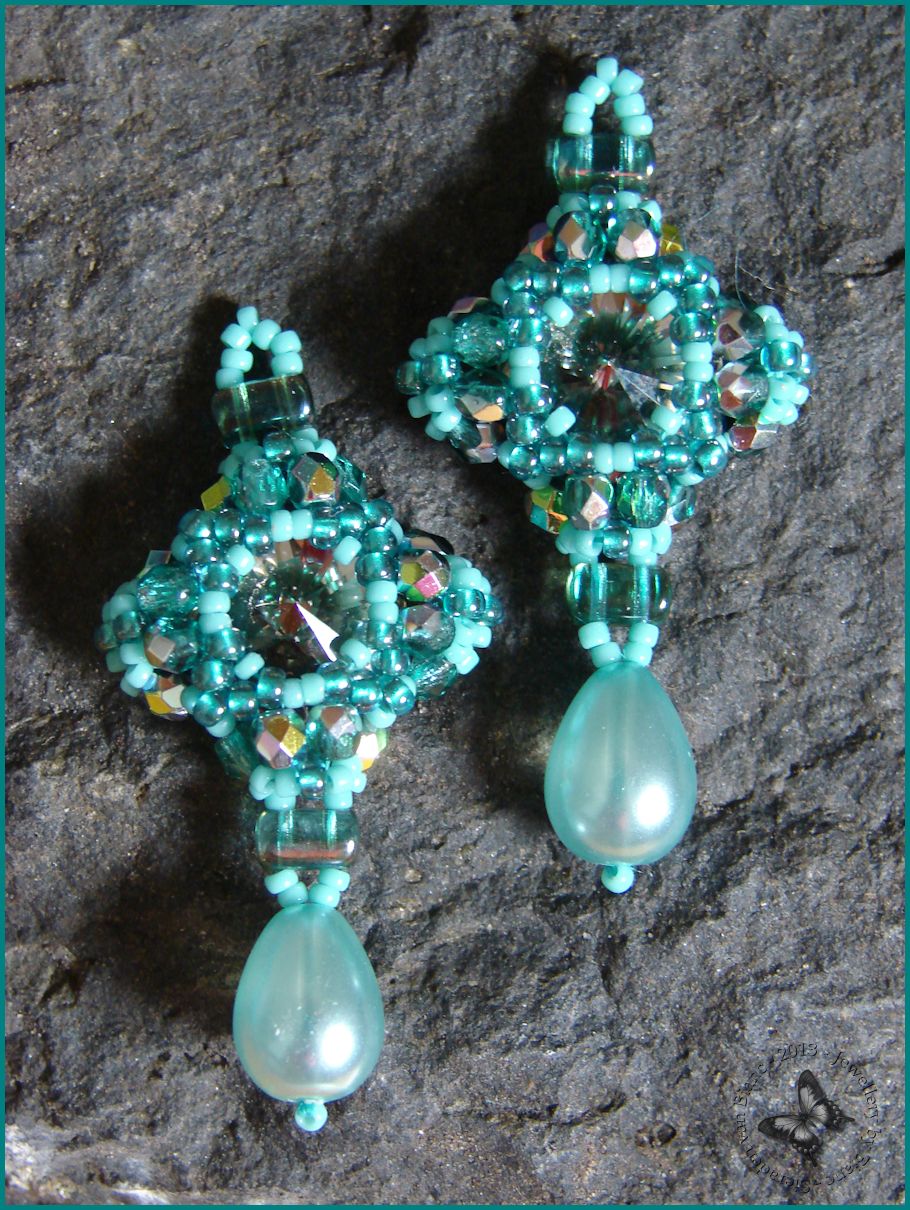
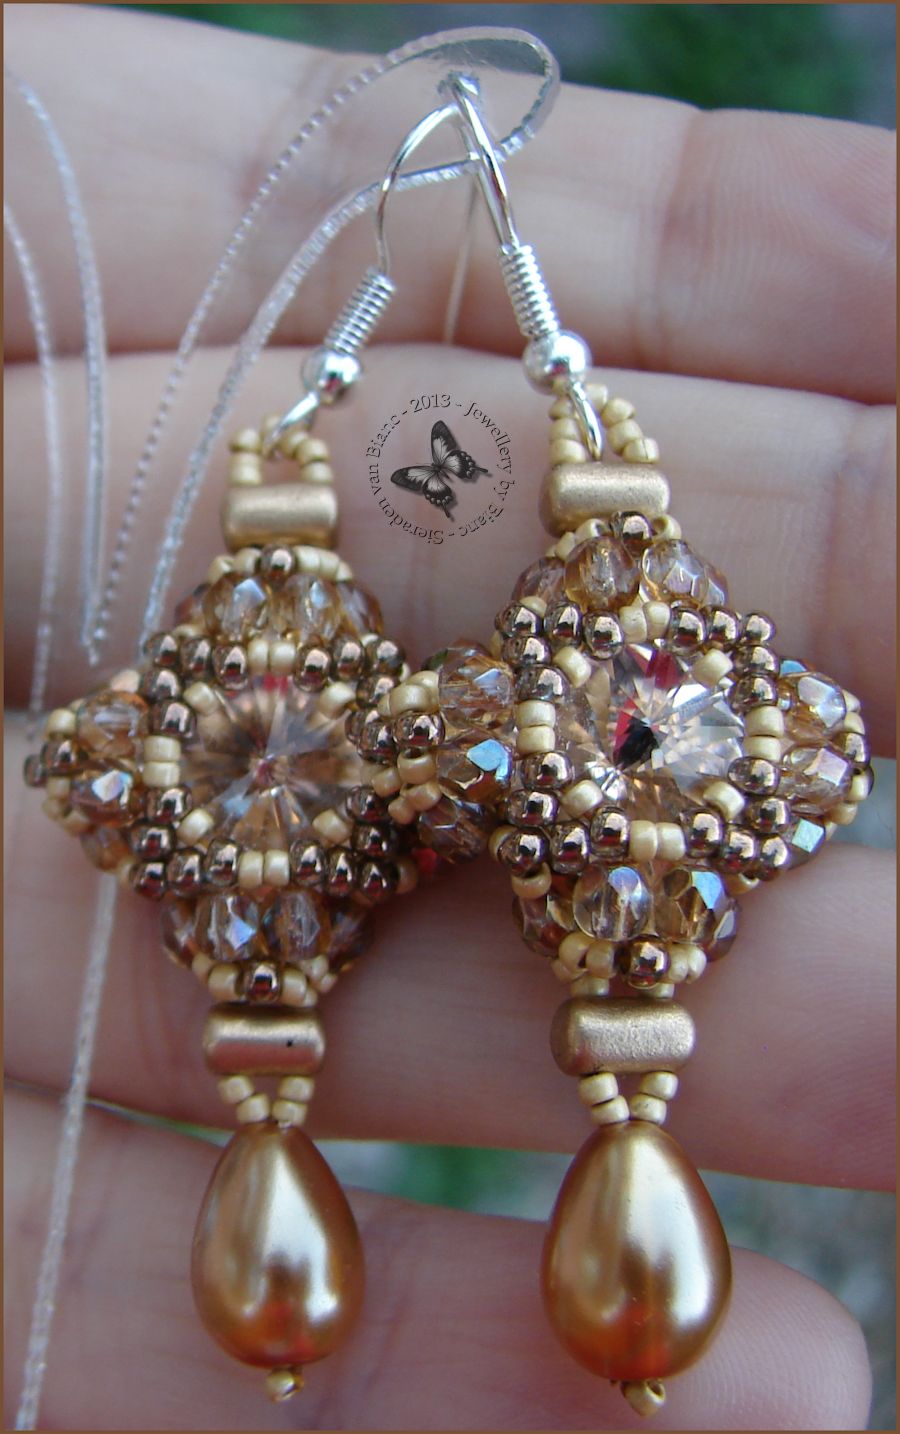
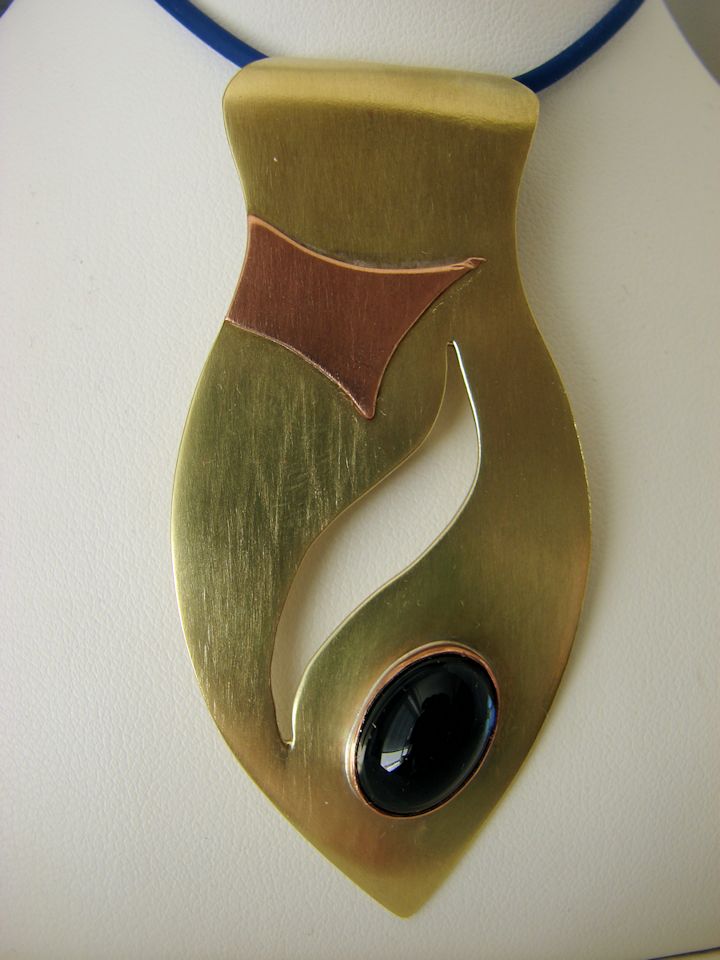
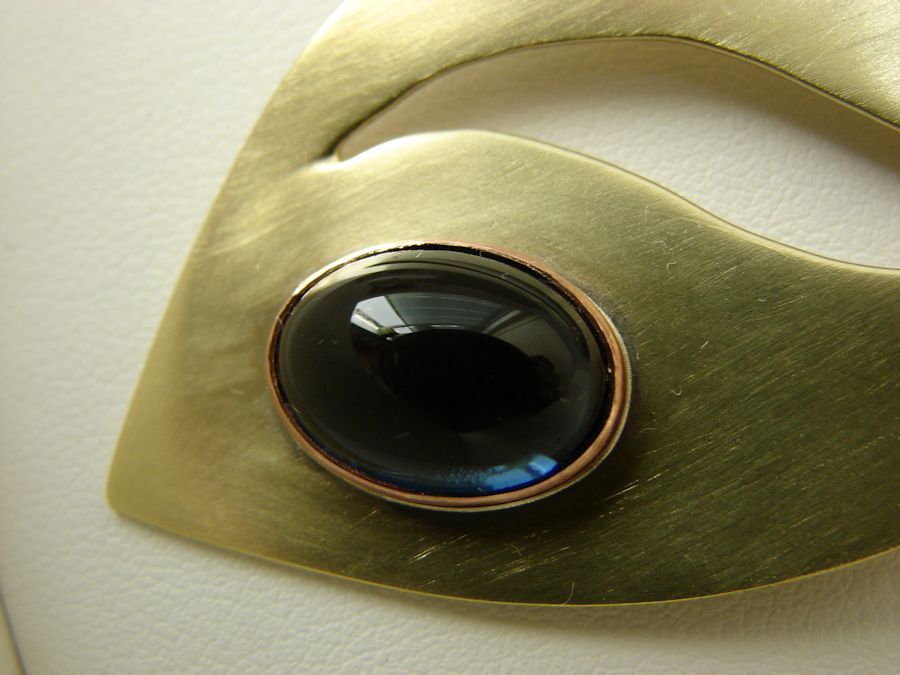
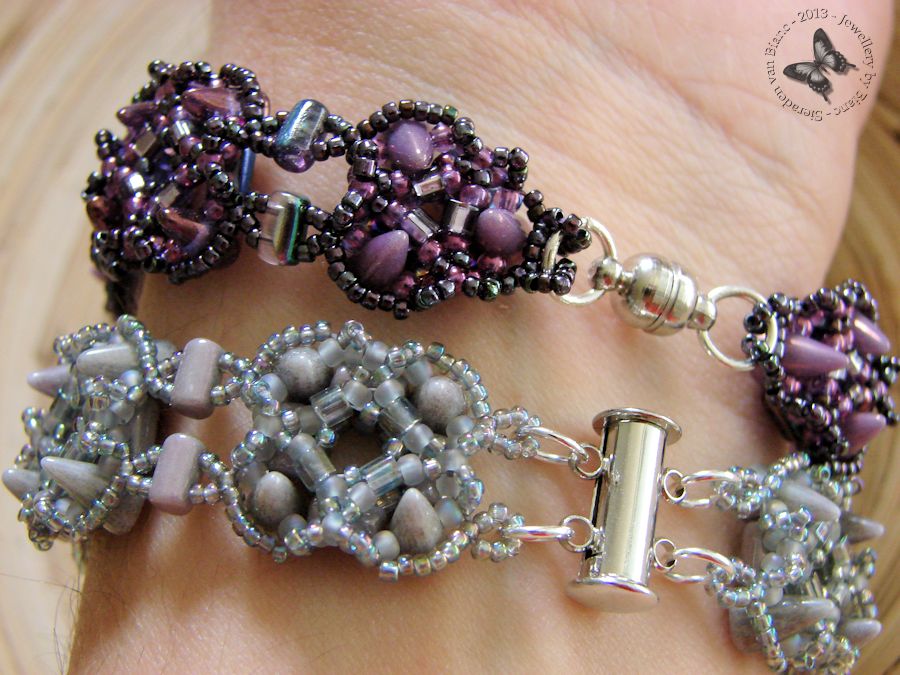
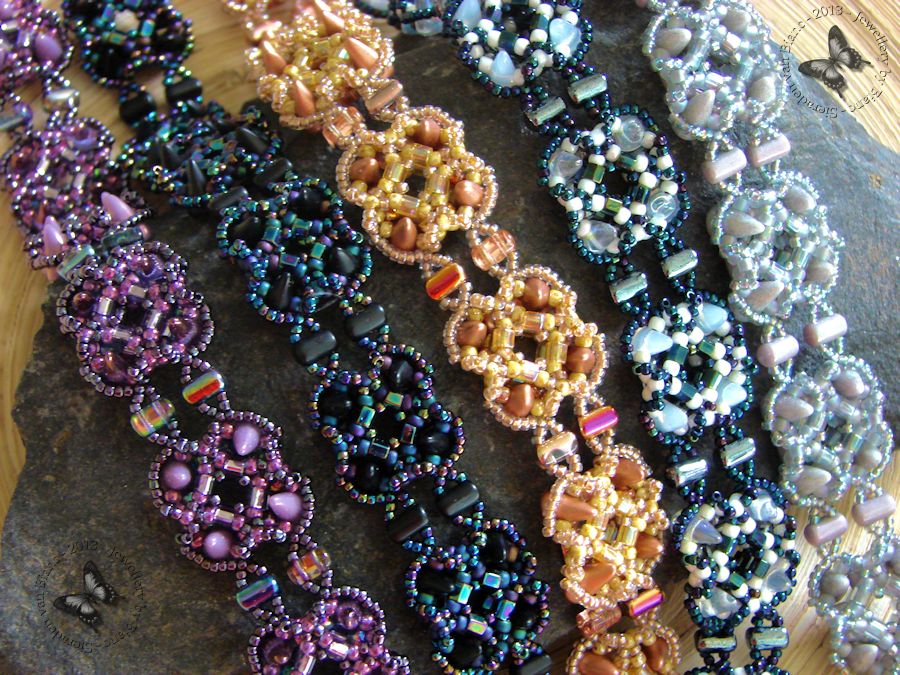
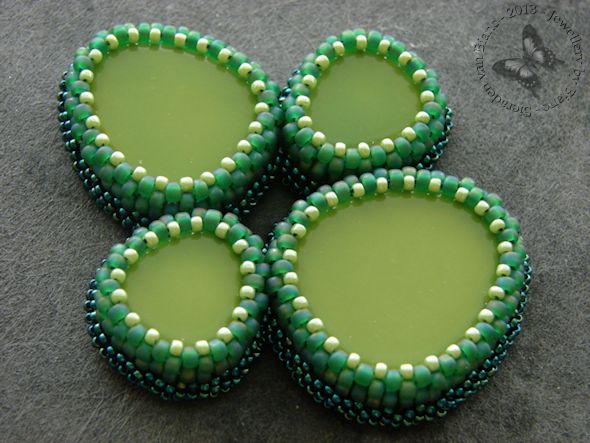
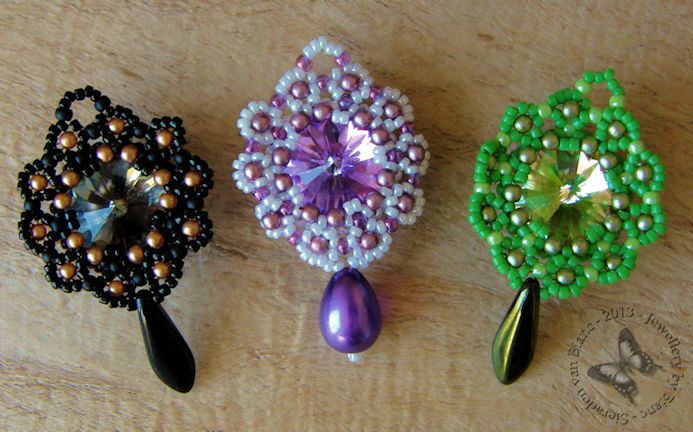
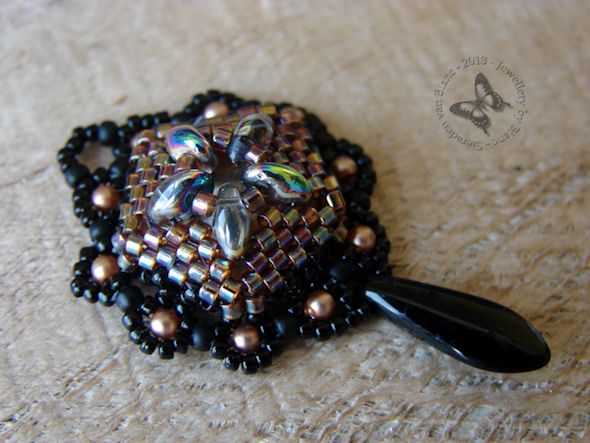
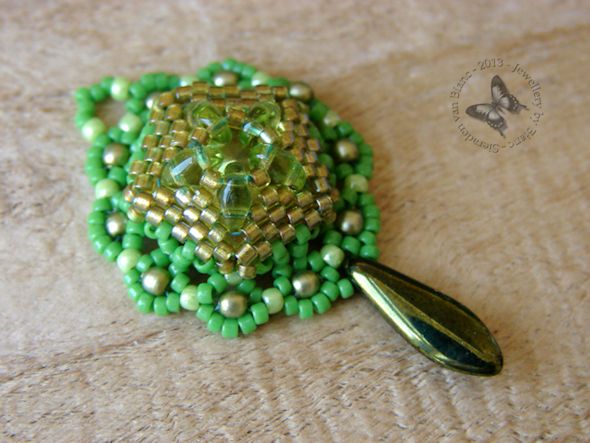
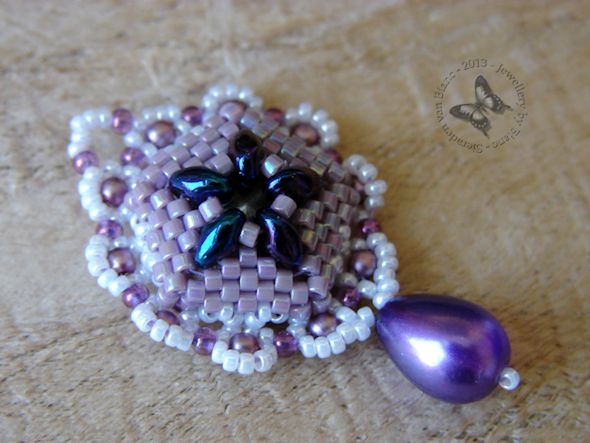
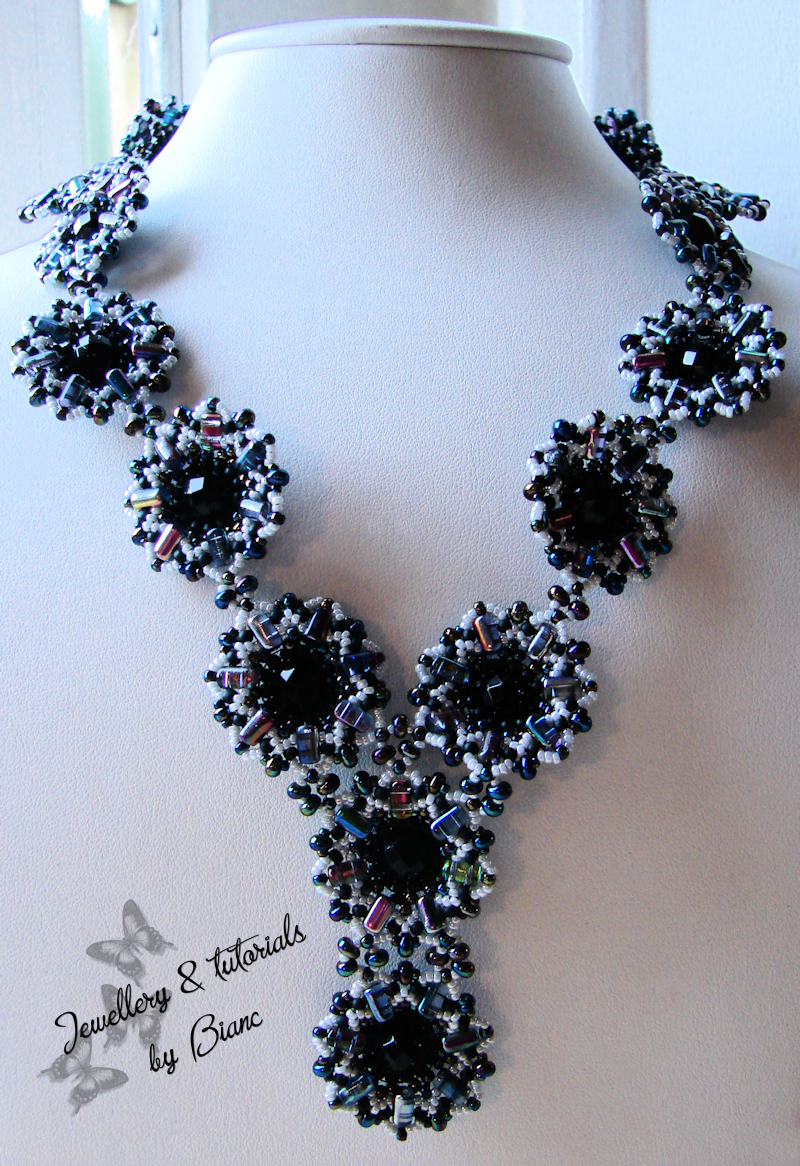
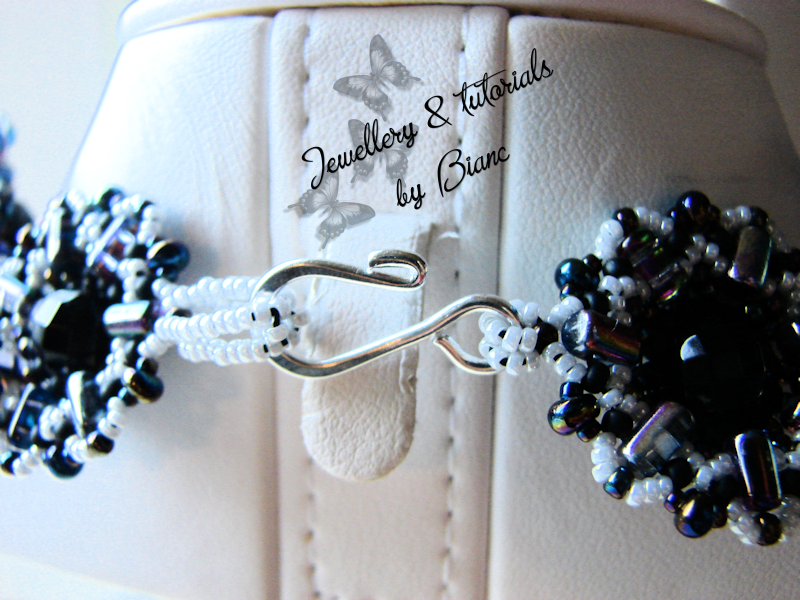
I have a small update for you about the necklace I was making… and here are the pictures of the necklace!

Yanti - 001

Yanti - 001 A

Yanti - 002

Yanti - 002 A

Yanti - 003

Yanti - 003 A

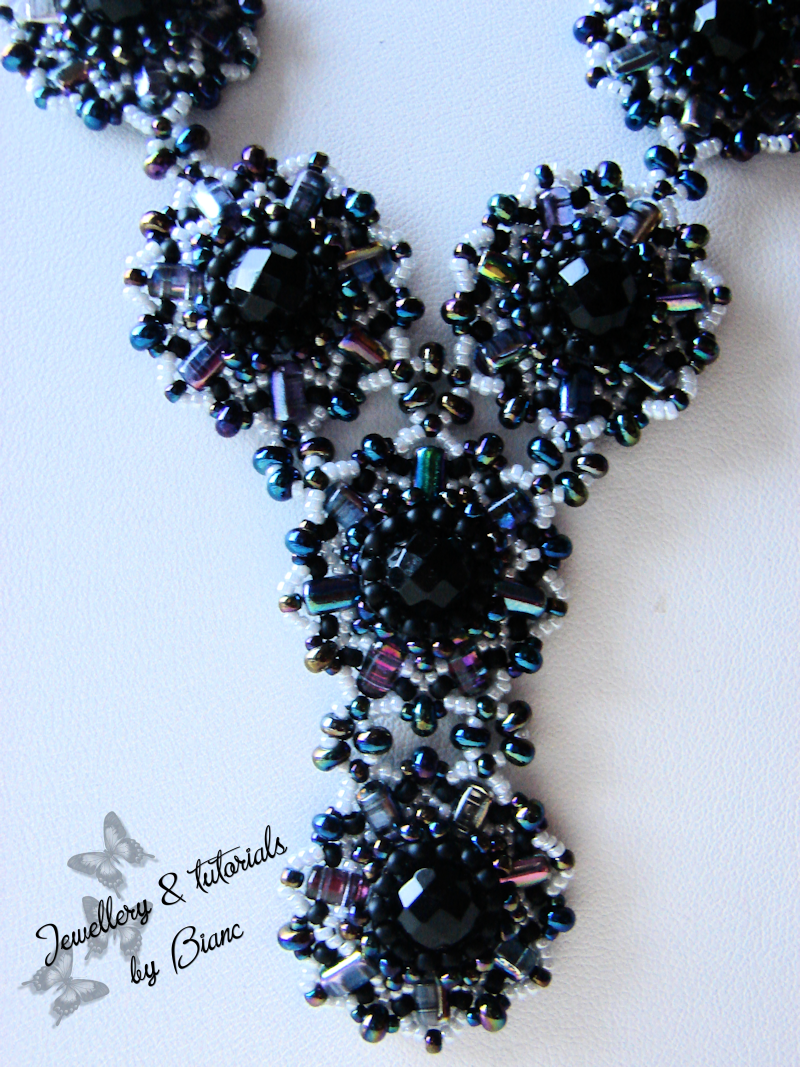
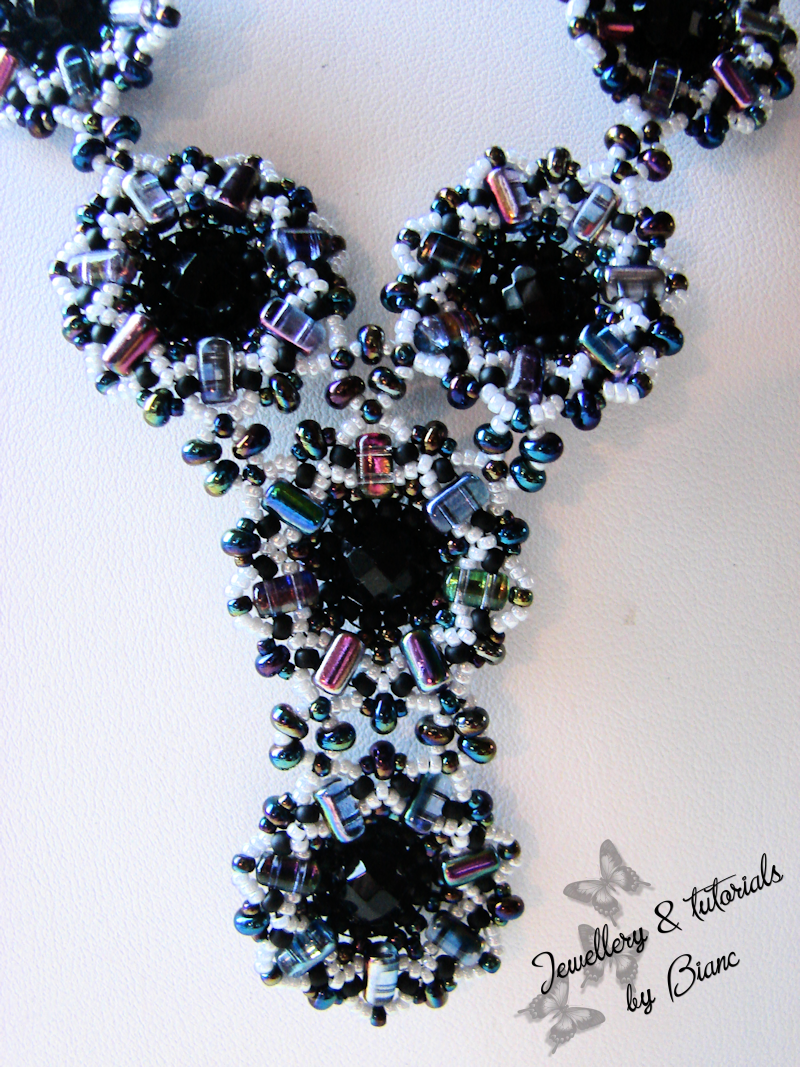
As you can see I have made pictures of both sides… with the innerbead popping side up and the innerbead popping on inside…

I can attest that the one with the innerbead popping up is most comfortable wearing. If you wear it on the other side it can wobble when you move…

Well, that’s it for now… Oh yes… I do have other news about Evanthia… I am currently waiting for new beads to further experiment and I already started with the writing of the tutorial… 😀

Love,

Bianc

Acantha update & what’s on my beading tray?

Hai there!

I have a short update for my Acantha tutorial, I just finished it today in English and can be bought at my website or etsy shop!

Here are the links:

http://www.jewellerybybianc.com

https://www.etsy.com/listing/158178418/beadwork-beadweaving-bracelet-tutorial

And I am in a beading mood these last few days… A new tutorial in the planning and now another new design on the way already… although I am not sure if I am going to make a tutorial for it… Have to see where it ends first…

Here a peek at my beading tray on this moment:

30-07-2013

Hope to have some more news on that one in August!

Love,

Bianc

Tutorial Acantha available now (dutch only for now) and a new tutorial/pattern in the planning!

Hi Everyone!

I finished the tutorial for Acantha today… although it’s only available on this moment in Dutch… I am still working on the English translation… I hope to finish the English version within two weeks…

If you want the dutch version just email me at info@sieradenvanbianc.nl to order the tutorial. As said in the last blogpost the price of the tutorial is € 7,50.

I am busy updating my website and when I finished the English version I will upload it onto the net… Then you can order it directly from the website…

I also will add it into my etsy shop (the english version only there).

DSC06659

Further I do have another pattern in the planning! I’m still doubting if I will keep it as a earring pattern or that I will make a bracelet out of it…

But, I do have pictures for you!

Evanthia - Oorbellen 1

Evanthia - Oorbellen 2

Evanthia - Oorbellen 3

I have called it Evanthia. It is another Greek name (love the greek names!) and has the meaning: the nicely blossoming flower.

That’s it for now… hope you liked the pictures! I will keep you updated about the upcoming tutorial for Evanthia!

Love,

Bianc

A few updates!

I know, I know… its been waayyy too long since my last update! Shame on me!

For the last few months I have been busy with some new things… I finished my course methalsmithing for this season and I hope to continue in the new season…

Here’s the result of it:

DSC06638

DSC06641

I am very happy with the results of it… and not bad for a first piece right?

Also last june I was asked to be a guest contributor for DIY Beading Magazine. This is a magazine that is available through iPad newsstand.

For more go to their website: http://diybeadingmagazine.com/

I’ve been featured in the latest (nr. 7) with my free pattern Lacey!

And then… more fun news… I’ve been busy with a new pattern/tutorial for you guys… More spikey business together with some rulla beads and more!

It’s a bracelet that I named Acantha, which is a Greek girls name that means Thorny, thorned, sharp pointed… Appropiate right?

DSC06659

2013-06-23 019

2013-06-23 007

The tutorial is still in it’s testing fase but I hope to offer it soon on etsy, my own shop and you can order through e-mail. The price will be € 7,50.

Well… I think that’s it for now… when the tutorial is finished completely I will let you guys know!

For now… untill next time!

Bianc

Finally, the free tutorial is here ^_^ & I finished the Pebbles necklace!

So sorry for the delay of the free tutorial!  

But, I finally finished up the tutorial and uploaded it to the free tutorial page here on my blog. If the link doesn’t work and you have a Craftsy account, you can also download it through Craftsy.

I haven’t updated it on my tutorial website yet, but I will be doing that soon!

Hope you guys like the tutorial & I would love to see some results ^_^

And I finished my new necklace! I absolutely love the result… I have to make some new pictures of it to show it to you!

See you untill the next update!

Bianc

Almost finished with the tutorial & I am working on a new bead embroidery piece!

Yes I finally finished the graphics today of the tutorial and now it just has to be tested…

I do hope that I can launch it this saturday… but I can’t promise it!

In between I began on a new bead embroidery project… It’s going to be a necklace that will be made of loose components…

The name I chose for the necklace is going to be Pebbles… Although you would think I called it after the shape… I actually thought about that lovely babygirl in the cartoon The Flintstones!

The pendant is quite large I guess… the cabs are made of stone that you usually use in mosaics… but why not use them in bead embroidery? It has a flat back… Just a tad thicker on the side… But that doesn’t matter to me 😀

I used 8/0 seedbeads for bezeling them… and 11/0 seedbeads to close them.

When I bezeled them apart from eachother I wanted them to be together so I glued them down on another piece of backing and stitch them on to that… Then a lovely genuine leather was placed as finish… I didn’t take a picture of that… But that will come later!

On the sides I used 15/0  seedbeads of 3 in a row because the side that you have to bead was quite thick and I couldn’t do it any other way… But it looks very nice!

The pendant piece…

HSB-008 - 'Pebbles'' A klein

HSB-008 - 'Pebbles'' B klein

On the next picture you can see that I left the middle open…

HSB-008 - 'Pebbles' C klein

I had to order some more 8/0 and 15/0  seedbeads… Otherwise I can’t finish the necklace… They shipped today so I do hope they are here tomorrow or saturday!

I will keep you guys updated about the tutorial and the necklace!

See you next time ^_^

Bianc

Free tutorial update: Pictures!!

Hiya!

Good news… I’ve made some pictures of the prototypes for the new pattern I’m working on!!

All prototypes with mark - small

Above:

All three of them shown in front. As you can see you can change the dagger for something else so you get another look or if you just don’t have a dagger laying around ^_^

Prototype black back - small

Prototype green back - small

Prototype lilac back - small

And these last three pictures are of the back. It does stick out but I think the backside should also be good to look at don’t ya think?

I hope you enjoyed viewing the pictures of the prototypes!

Bianc

Free tutorial update!

Hiya,

Just wanted to let you guys know that I just finished writing the Dutch version of the free tutorial that I have planned.

The next step is to translate it to English and also make the graphics that go with it.

Making the graphics will cost some time, it’s not easy to do ^_^

Well, that’s it for now! Untill the next update!

Bianc

Free tutorial in the making and I started with a short goldsmith course! ^_^

Hai guys,

I believe I promised you for a while back that I would make a free tutorial… but I was doubting about what I should make… this past week I’ve been trying out a few things and came up with something…

I’m going to keep it a secret for now because it’s just in it’s begin fase…

Here’s a hint:  it’s got a 14 mm rivoli as center, some cute 2 mm glass pearls and superduo’s… There are more beads involved of course ^_^

That’s it for the tutorial!

And my other news… Since a few weeks I started a short goldsmith course! And I am soooo excited about it! Although I started with some test material… I do want it to be good!

Here’s a picture of the project I’m working on :

2013-02-26 010-a

In my first lesson I carved the design on a piece of brass and started to saw.

Les 3 B

In the third lesson I was finished sawing and now had to start with filing and sanding.

Here you see the side of the project that is filed and sanded.

After lesson five, I’m finished with the filing and sanding of it… In the next lesson I will start with polishing and maybe start with soldering!

I’m looking forward to my next lesson! It’s only ten lessons for this time… So I do hope to finish it ^_^

Well, that’s it for now! I do hope you enjoyed the pictures!

I will keep you guys updated about the tutorial… And when it’s finished you can find it on my new tutorial website!

See you next time 🙂

Bianc

Change of scenery!

Hey there!

For the ones that read my blog, I’ve been busy with a change of scenery for my tutorials and blog.

As you can see I’ve kept it very clean and easy to navigate. At least I think so ^_^

There were a few reasons but the main one was that I cancelled my original hosting & domain for purebiart.com. First I was going to put my jewellery on here also but I chose to not do that and only for my tutorials.

You can always go to my (Dutch) website http://www.sieradenvanbianc.nl for my jewellery. I will be going to make a new website for that one also… But that will take a while I think.

I haven’t been very active with beads these last few weeks… Although I have made a new pair of bead embroidery earrings… Just have to figure out what kind of fringe I am going to give them before shooting pictures…

Well, that’s it for now! If you see any mistakes on my new website, don’t hesitate to contact me… I would appreciate it!

See you next time!

Bianc